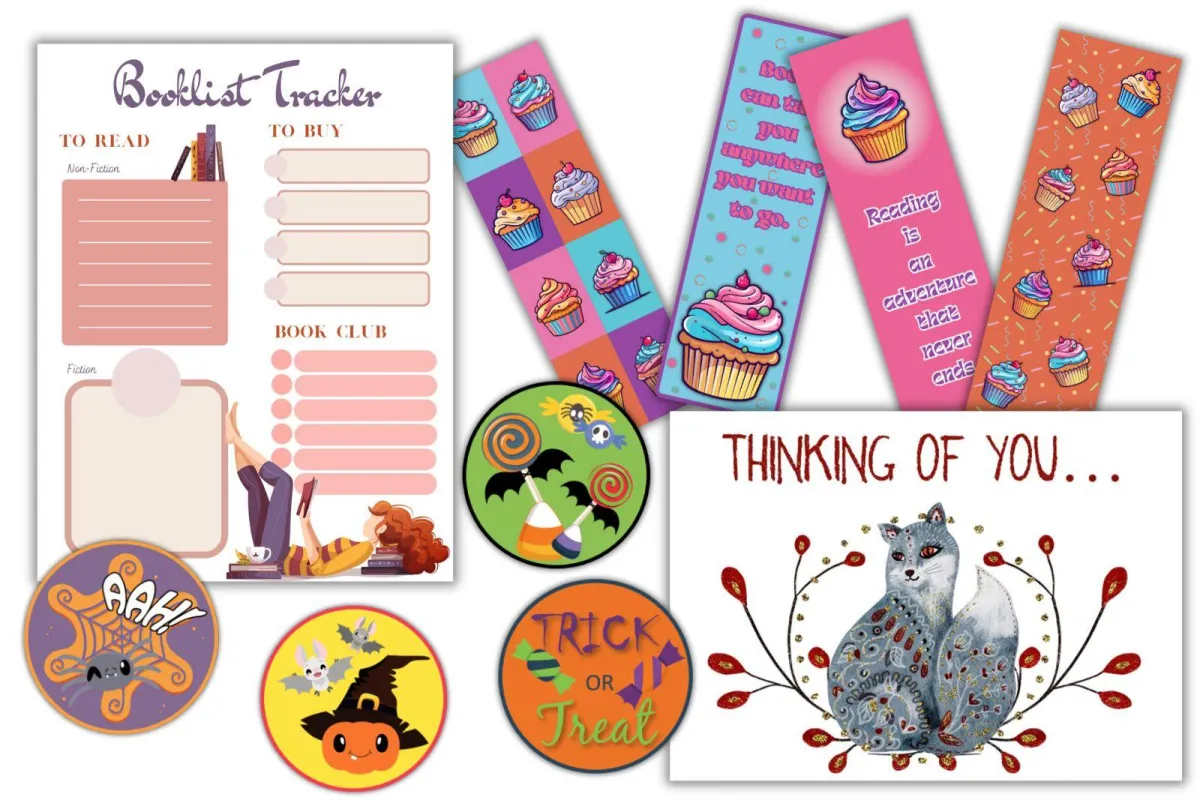
PowerPoint Tutorial: How to Make Printables in Different Sizes
Printables come in all different shapes and sizes depending on what you are making. I make all my printables in PowerPoint, and changing the sizes for each printable is really easy. I’m going to show you how to do this using screenshots so you can easily follow along if you are unfamiliar with the software. (This is a great post for getting familiar with PowerPoint.)
Changing the Slide Size for Printables
When you open PowerPoint, it should look pretty close to the image below, depending on which version you have. The first thing you’re going to do is select “blank presentation”, as circled below.
This opens up the workspace. PowerPoint is designed for slide presentations and although we won’t be using the program for that, we will be using and referring to slides (which we will eventually save into other file formats as printables).
Once you have your workspace open, you will notice the tabs across the front: File, Home, Insert, Design, Transitions, Animations, Slide Show, Review, View, and Help. We are going to head into the “Design” tab.
Once you open your “Design” tab, you will see an entire row of options for designing your slides. We’re going to ignore all of those and head straight to the “Slide Size” tab at the end.
Once you select “Slide Size”, a dropdown menu will give you the option to make your slide Standard or Widescreen but we want to make our size custom, so we are going to select “Custom Slide Size”.
Selecting “Custom Slide Size” will create a pop-up with options to format your slide. We want to open the dropdown menu underneath the caption “Slides sized for:”.
This dropdown menu offers a lot of sizes to choose from, sizes you most likely want to use. However, I have found that selecting from one of these options does not always give true-to-size dimensions once printed out. For this reason, I always select “Custom” at the bottom and add the dimensions manually.
Once you select the “Custom” option, you can add your paper dimensions, depending on what you’re making. In this visual, I added “8.5 in” to the width and “11 in” to the height, then selected the Orientation as “Portrait” and clicked “OK”.
Once you have added all your information and clicked “OK”, a new popup will show giving you two options, “Maximize” and “Ensure Fit”. You want to select “Ensure Fit”.
This should take you back to your workspace where you will see that your slide went from a Landscape Orientation to Portrait, and your dimensions are now US Letter sized.
Something to note: because PowerPoint is designed for slides, all the slides you work on in one presentation will be the same size. If you decide later that you want those slides a different size or orientation, all the slides will change, not just the one you’re working on. And if you do resize and/or change your orientation during the creation process, just keep in mind that the elements inside your slide will shift and you may need to make adjustments.
Those adjustments are less tedious when you shrink your slide as opposed to enlarging it. So, for example, if you want to make wall art, but want it in different sizes, start with your largest size first. Once you finish the design and save it in the proper file format, then you can change the size to the next smaller size (following all the above steps) and save it a second time in the proper file format, then do it all again for each smaller size after that.
This is just a tip that will save you lots of time if you need to take this step while making printables. Hope this helps! If you were in a tutorial, just hit the backspace to return to it or head here to choose a tutorial that interests you. Happy creating!
© 2023 Freedomkit | Powered by Freedomkit.ai

