
Transform Your Space with Stunning Wall Art made on PowerPoint!
Due to its popularity, especially among those wanting to create printable wall art to sell, learning how to design digital art prints is one of the first steps people take when they want to start making printable products. This is where I started and since you are here, it’s where you’re probably starting, too.
(Here is my video tutorial if you prefer learning this way.)
Creating wall art is a lot of fun and actually a straightforward process. If you’re not a creative person then the thought of designing wall art might seem overwhelming but let me break it down for you and you’ll see how easy it actually is.
(I sometimes include affiliate links, which means I might make a small commission off any purchases you make, at no additional cost to you. You can read my full disclosure here.)
1. Start with a concept
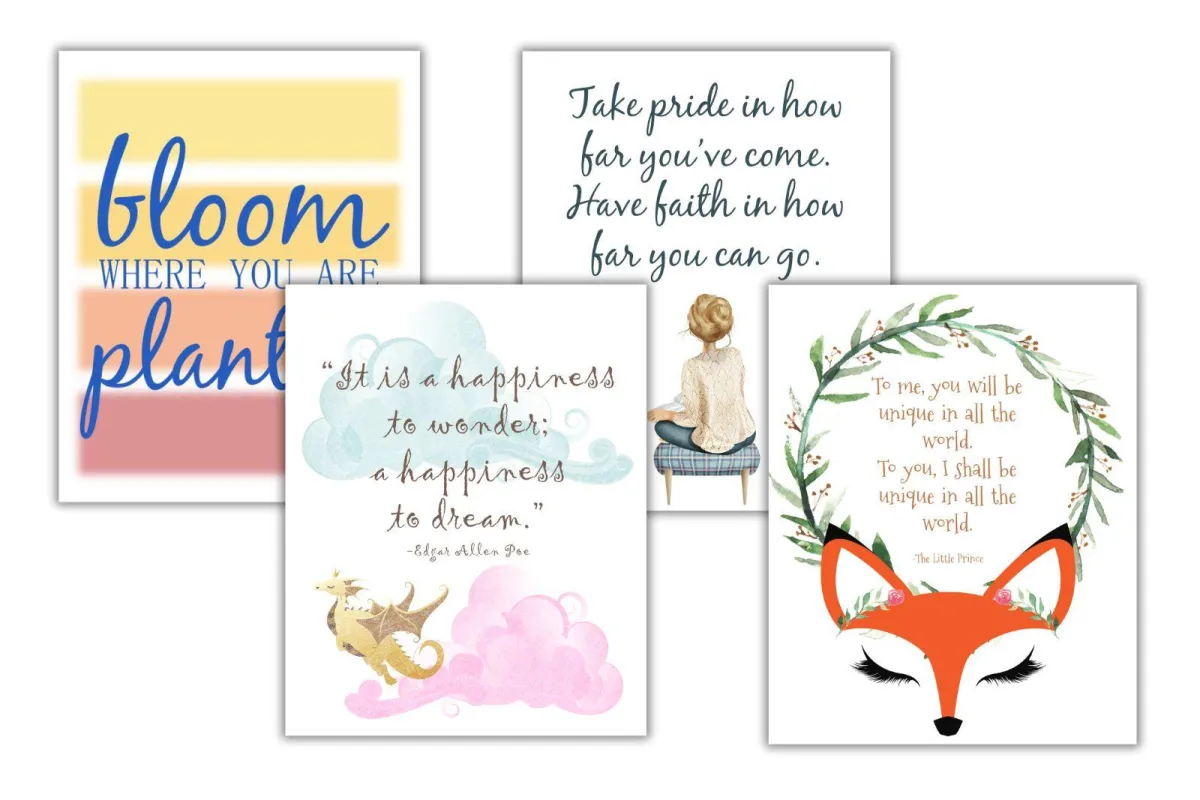
Examples of Printable Wall Art
My first few attempts at wall art were embarrassing. But I kept working at it and kept designing and kept learning and eventually, I started feeling proud of my work and less hesitant about listing it to sell. I’m telling you, the best feeling in the world is when someone validates your designs by paying you for them, so start designing and start selling!
But if you have no idea how to begin, start by looking at what’s already been done.
Below is a simple wall art in quote form; it’s a phrase that my grandma used to say. Using quotes or words is probably some of the easiest printable art you can make and WordArt is pretty popular right now and a lot of fun to make. There are endless fonts out there that you can play around with, so pick the one you like, type in a phrase, format it how you like and voila, you have yourself your first wall art. Another great thing about quotes in an artwork is that it makes for beautiful home decor in just about any space.

This next one is just a Bible verse within a PowerPoint shape and some clip art. Very simple but pretty and would look great in a living room or office space. If you had several verses with a central topic, you could create a gallery wall and sell them as a set.

These next two I made for my Etsy shop: In a Girl’s World. The first one is made with PowerPoint shapes that I tweaked to look like watercolor then topped with a quote while the one beneath it is made with clip art and a quote. I made one as wall decor for a kid’s room and the other as a nursery print.


These are just some of the things I’ve made throughout my time making printables, but there are so many other types of wall art you can create. If you were to do a search on just Etsy alone, you would get thousands of results ranging from art prints, graphics, quotes; anything and everything you can think of.
I highly recommend you try creating different styles until you find something you really love, then make a whole product line. But if you’re making this for personal use, then just have fun with it. Use graphics, try your hand at making your own clip art, merge art styles, and mix up fonts; you never know where all these attempts will take you when you push the boundaries of your comfort zone.
2. Choose your graphics, fonts, etc.
Obviously, if you’re making wall art out of your own designs, this won’t apply to you, but not all of us are artists so we often partner with those who are, by buying their artwork (in the form of graphics/clipart) and creating something different with it. Etsy has an amazing selection of talented designers selling their art and I have bought so many over the years.
But now I get almost everything from Creative Fabrica. I was spending so much on individual fonts and graphics that when Creative Fabrica offered me a subscription with a set monthly price for unlimited downloads, it was a no-brainer for me to sign up. With unlimited downloads, my budget no longer holds back my creativity. (Learn how to upload new fonts to PowerPoint in this tutorial.)

Useful tip: No matter where you get your graphics, you want to make sure you understand each owner’s commercial use license so you use their graphics within the parameters they allow. You also might be required to provide attribution. These are a few drawbacks to buying on Etsy, as each owner has slightly different allowances that you have to keep track of. But with Creative Fabrica, the commercial license is the same for all their graphics, which makes my job SO much easier!
You can also check out public domain images for free art you can use for your art prints. If you have never heard of public domain images, they are images not protected by intellectual property laws such as copyright, trademark, or patent laws. They are for public use which means you can use them for your printable artwork without permission. (I made a video on this which goes into more detail on image use in your printables.)
3. Start designing your wall art
a. Choose your size
The average size for printable wall art is 8×10 which allows you to easily print your designs at home. But there are countless other sizes you can have, too, like 5×8, 4×6, 16×20, etc. (The larger sizes would need to be printed at a local print shop, of course.)
The two I usually stick with are 8×10 and 16×20. Regardless of which sizes I offer, I always size my PowerPoint slide to the largest size first, then after I’ve designed it and saved the design in the proper file formats, I resize it to the lower dimensions and save it again. I do this in each size, starting with the largest first, as the elements need less adjusting when I go from largest to smallest.
Useful tip: In regards to creating wall art in PowerPoint, if you plan to offer a larger size than 8×10, you are going to want to change the dpi (dots per inch) of your printables for the best quality when printing. Printables print great at PowerPoint’s standard dpi of 96, but when it comes to digital art, you’re going to want at least 300 dpi. (Learn how to make this change here.)
Follow these step-by-step instructions to change your slide size in PowerPoint:
Open your PowerPoint program
Open the “design” tab
Select “slide size”
Select “Custom slide size” from the dropdown menu
In the popup, open the dropdown menu under “slide sized for” and select “custom”
Enter your width and height
Select “portrait” or “landscape”
Select “ensure fit” from the pop-up options

(Here’s a detailed tutorial on how to create a custom page size in PowerPoint.)
a. Choose your graphic (if you plan to use any)
Once you find a graphic you like, purchase it and download it to your computer. (I highly recommend saving all your graphics in organized files; you’ll appreciate having them categorized as your collection grows.) Upload your graphic to PowerPoint using the “Insert tab”, select “Pictures” then “This Device” and locate the file you want in the folder you saved it to.
Once you open the file you need, select all the graphics you want to include and choose “insert”. Now that the graphic(s) are uploaded to your slide, you can do a lot with it. You can adjust the size easily by dragging the corners. If you want to format it further, right-click on the graphic and play around with the options available.
a. Add text (if you plan to use any)
If you bought a font on Creative Fabrica or Etsy, and downloaded it to your computer, all you have to do is install it. The image below walks you through the process in case you have never uploaded a font before.

Once you have installed your font, it will be in PowerPoint the next time you open the program. (If you already had the program open, you will want to close it out and then reopen it.)
4. Save and Export your Wall Art
Once your wall art design is ready, you’ll want to save your work as a PowerPoint presentation, first. This is super important! (There is an autosave option on PowerPoint but I do not use it because I use many of my printables as templates for other designs I make.) After days worth of design work on my first printable, I saved my work as a PNG but did not save it as a PowerPoint presentation. This meant that after I closed out of the program, my finished piece was saved but I could not go back and make any changes to it, which were necessary. I had to start again entirely from scratch.
So now, after I’ve finished creating a printable, I first save it as a Powerpoint presentation, then I go back and save my printable in all the file formats that I need. I usually always save my Wall art as a Jpeg, as it’s a smaller file size and a great file format for digital art made in PowerPoint.
Of course, if you are making other kinds of printables, you might use other file formats, but for wall art, Jpegs are best.
How to save a file in PowerPoint
Go to “File
Click “Save As”
Click “Browse”
Find the file you want to save to
Click “Save”

Useful tip: It is very smart to have online storage for your files. This allows you to access your files most anywhere plus serves as a backup in case something happens to your computer or hard drive. It also keeps your graphics from taking up all the storage on your computer. The two I use are Dropbox and OneDrive.
5. Ready your Wall Art to sell
If you are planning to sell your wall art, there are a few steps you should take.
a. Create Mockups of your wall art
Mockups are staged renderings of displayed products and/or images so customers can get an understanding of how that product works or looks when in use. The four examples of wall art I gave at the beginning of this article are displayed in mockups. Mockups are amazing tools for digital creators, saving them the hassle of printing all their products, displaying them, and trying to get eye-catching pictures.
Photos are incredibly important when it comes to selling in the online space. If a prospective customer can “see” a product in action or how it might look in their home, the chances of them making a purchase increase significantly. Mockups give you this advantage without you having to do all the work. It’s an incredible asset for creators.
Etsy has a treasure trove of mockups, it’s probably the best place to shop for them. Creative Market would be another. Since I get unlimited downloads with my Creative Fabrica subscription, I go there first to look for what I need, then look elsewhere if need be.
If you want a step-by-step walk-through of how to use mockups, check out the video below:
a. Upload Wall Art to an E-commerce Store
If you are wanting to sell wall art, there are so many options available for you. I love Shopify and how easy it makes the entire selling process for creators, but its monthly fee is not always sensible for those just starting out. Etsy has no monthly fee but they do take a percentage of each sale. For a beginner, Etsy was the best option for me.
Upload your wall art to whichever platform works best for you, make sure and add your edited mockups with your wall art added, and include as much information about the piece as you can; its file format, sizing, etc.
a. Promote your Wall Art
No one is going to buy your wall art if they don’t even know it exists. So share it on all your social media accounts (find some awesome social media templates here), make some Pinterest pins and pin them, (these are my FAVORITE Pinterest pin templates), and take advantage of what your platform offers, like promoted ads, etc.

Conclusion
This may seem like a lot to digest but I wanted to cover as much as I could on the topic of creating printable wall art so you have at least the general idea of what it’s like and what it entails. If you would like a visual walk-through of my creation process, check out my YouTube channel, Everything Printables, where I do tutorials for you. Make sure to leave me a comment in any video letting me know of something you’d like to learn about printables and I will work on that for you.
Happy creating!
Learn how to make these other printables, too:
Create Printable Note Cards in PowerPoint with this Tutorial
Learn how to Make a Daily Planner that Sells
Best Program for Making Printables
All About Printables & Why you Should be Making Them

© 2023 Freedomkit | Powered by Freedomkit.ai