
Create Beautiful Printable Note Cards in this PowerPoint Tutorial
Learning how to create printable note cards is not only a lot of fun, but it’s a great skill to have if you want to make and print your own greeting cards, send a custom note card to someone, or make money selling card templates online. Whatever your purpose for making them, I think you’re going to love the creative process and end result. Let’s get started!
How to Create Printable Note Cards
As you know, cards come in all shapes and sizes, depending on which you’re going to make. And once you know the basics, you can turn around and make templates for printable flashcards, place cards, and even index cards. Today, though, I’m going to walk you through how to make a foldable, blank note card as that seems to be the most common style.
1. Resize your PowerPoint Slide
Once you are in PowerPoint, you’re going to want to resize your “slide” to dimensions that will work with the paper size you want and the type of card you’re going to make.
For instance, if you’re making a flat card, it really doesn’t matter which page setup you go with, since the card won’t be all that big. However, if you are going to make a foldable card then you need to decide whether you want the fold to be on the top or you want the fold to be on the side. In the example I have for this post, the fold will be on the top, so we’re going to have our “slide” (or page) dimensions 8 1/2×11 and the orientation will be “portrait”.
How to change your slide size in PowerPoint:

Head into your “Design tab”
Select “Slide Size” on the right
From the drop-down menu, select “Custom Slide Size”
In the box that pops up, select “Custom” from the first drop-down option
Resize your width to 8.5 and your height to 11
Select “Portrait” for both options on the right
Click “Ensure Fit” from the next pop-up box
(Here’s a detailed tutorial on how to change the size of your printables.)
2. Create the Card Shape and Dimensions
Most foldable cards are sized 5×7 so if we are going to make ours printable, we will need the full dimensions to be 10×7 so that after it’s printed, cut out, and folded, the card will measure 5×7.

How to add and size a shape in PowerPoint
Go into your “Shapes” tab
Select the rectangle shape
Click and hold your pointer at the top left corner and drag it down to the bottom right corner
In the top right corner of your PowerPoint tabs, there should be a section displaying your shape’s dimensions. Go ahead and enter the dimensions you need.
If you do not see the dimensions at the top, you can right-click on the shape itself and select the “Size and Position” option to size it.
Useful Tip: There is an option for “guides” that I find incredibly helpful as they guide you to center your elements on the page. You can find them in the “View” tab. Once you check the box for “guides”, they will stay visible until you turn them off again.
3. Design Your Printable Card
Now that you have your shape up and it’s sized appropriately, you are going to want to start designing it. The first step is to change the color of the shape. Every shape has two colors, a fill color, and an outline color. If you select the shape you want to work on (we only have one up at this point), a new tab will pop up at the top called “Shape Format” and it has all the formatting options available to your shape.
Near the middle, is where your color options are. (See pic below)

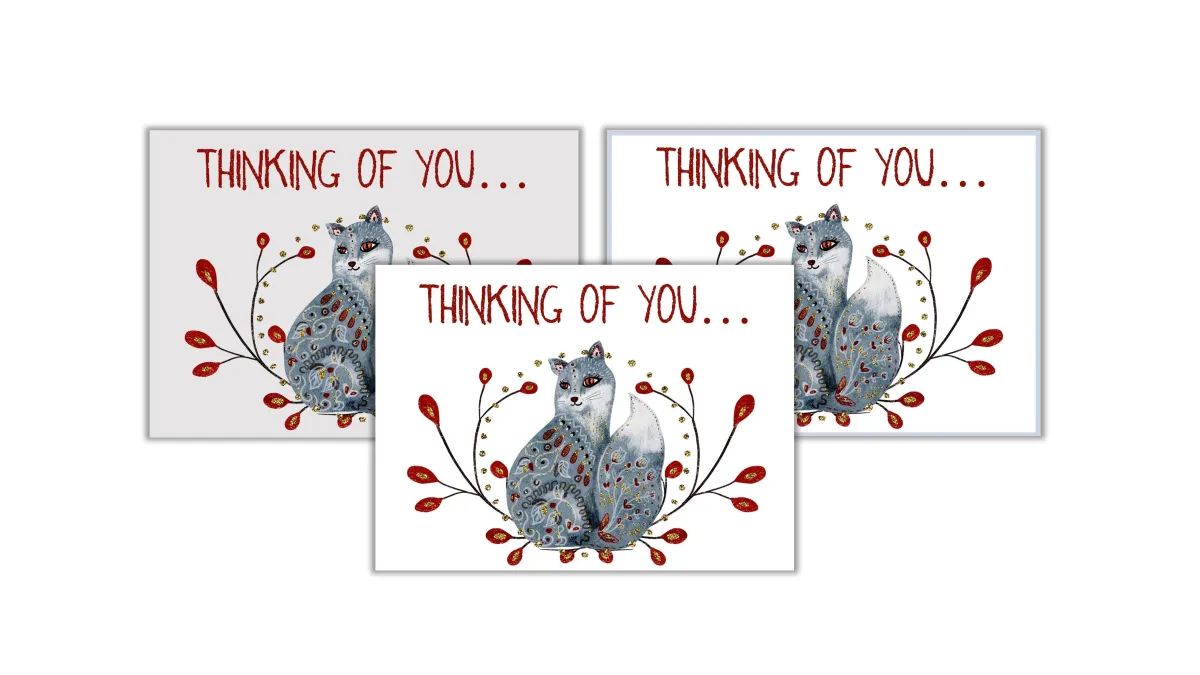
In the video tutorial at the top of this post, I show you how to use the same design in three ways so you get different looks with minimal effort. But for this blog post tutorial, we want our “Fill Shape” color to be white. For the most part, our card will remain white, but we do need the outline color to be different so we can see where we need to cut.

How to Change the Shape’s Outline
Right-Click on shape
From the pop-up, select “Format Shape”
Change transparency; I like 75% but that is just a preference
Select “Dash Type” to change the outline to dotted lines
Useful Tip: You can also add a faded, dotted line on either side of the card (at the center) to serve as a fold line. This is a good idea for those creating printable cards to sell.
(I sometimes include affiliate links, which means I might make a small commission off any purchases you make, at no additional cost to you. You can read my full disclosure here.)
4. Add in Graphics, Clip Art, and/or Fonts
If you’ve followed me for any length of time, you know how much I love Creative Fabrica for all things graphics and fonts. They have an amazing selection of both but the selling point for me is their all-access subscription. Their all-access subscription allows me to pay a set price for unlimited downloads.
As someone who uses graphics and fonts daily, and always needs new ones for new projects, I never have to worry about my budget with Creative Fabrica. And, they have one commercial license for all their designs so I no longer have to keep track of which creator created which graphic (for attribution) and what each individual commercial license includes. (This is something you will have to keep track of when you buy from individual creators, like on Etsy.)
If your budget does not allow you to have a subscription plan, you can always buy individual graphics and fonts on Etsy and Creative Market. (Just make sure you are looking at their commercial license stipulations if you plan to sell your printable cards.)
How to add graphics to your PowerPoint slide

Go to the “Insert” tab
Go to the “Pictures” tab
Select “This Device”
Select the file you have your graphics stored in
Select which graphics you want to use
Click “Open”
(If you need a more thorough tutorial on uploading graphics into PowerPoint, click here!)
Once you have your graphics uploaded, you are going to want to play around with them to see how you want them to look on your card. You can watch my design process in my video above, as well as see the different design styles you can do with your graphic choices, but for now, see what you like about the graphics you have and see if you can’t come up with a design you really like.
If you want to add any font, you will do that the same way you add a shape into PowerPoint, by going into your “Insert” tab and clicking on the “text box” option. From there, you can see all the tabs open up that allow you to adjust your font style, size, and color. (Learn how to upload new fonts in PowerPoint here!)
If you are selling this printable card, you can always add text boxes around the outside of the card explaining the fold and cut lines, but I think they are pretty self-explanatory. Also, you can add your Etsy shop name at the bottom, if you’d like. (See pic below)

5. After your Note Card Template is Finished
If you made this for yourself:
Print it (a cardstock sheet of paper is best)
Cut out with scissors or a paper cutter
Fill it in with a personal greeting then send it to someone special
If you made this as a free printable:
Save the file to your computer or online storage
Upload to social media/blogpost
If you made this to sell:
Save file to computer or online storage
Create some beautiful mockups of your card
Upload to your storefront
Promote on social media

Conclusion
I hope this walk-through helped you understand a little better how to create printable cards in PowerPoint and just how easy it really is. Once you get the hang of it, you can fill out a product line in no time!
Related Articles
How to Create a Daily Planner in PowerPoint
Make Wall Art in PowerPoint
What are Printables?
Best Software for Making Printables

© 2023 Freedomkit | Powered by Freedomkit.ai